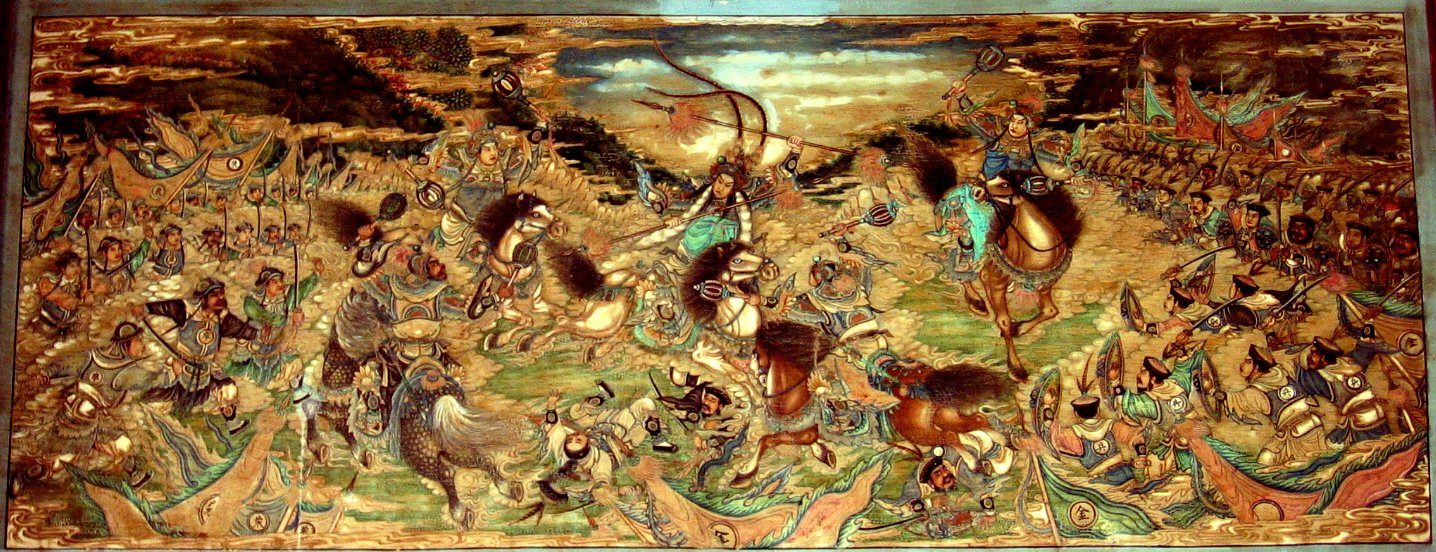
This post is going to start somewhere you don’t expect – over 1,000 years ago in Song Dynasty China during which we find the legendary founder of Xing Yi, Yue Fei, a general in the Song Dynasty army, mulling over the advancing (heavily armoured) Jin cavalry, and wondering how his foot soldiers are going to fair against the crushing advance of an army that had destroyed the Liao Dynasty troops, scattering them to the Western regions.
The Jin/Song wars would last a century, starting in 1125, when the Jin attacked the Song after a series of negotiations between the previous allies failed. During this period North and Southern China was effectively separated between Jin and Song, with the Song retreating into the south of China. The Jin advance into southern China in 1130 was stymied by Song generals like Yue Fei and Han Shzhong. Eventually the Song allied with the Mongols in 1233 to defeat the Jin, but the Mongols then went on to defeat their previous allies, the Song, and thus the Yuan Dynasty was born.
But why this history lesson? Well, one weapon that was popular during the Song/Jin wars was the ‘sword breaker’ called a bian, which translates as ‘whip’. But it was a very solid short stick made of iron, not a flexible whip. It was often used on horseback because it was effective against heavily armoured warriors, and the Jin cavalry was very heavily armoured.
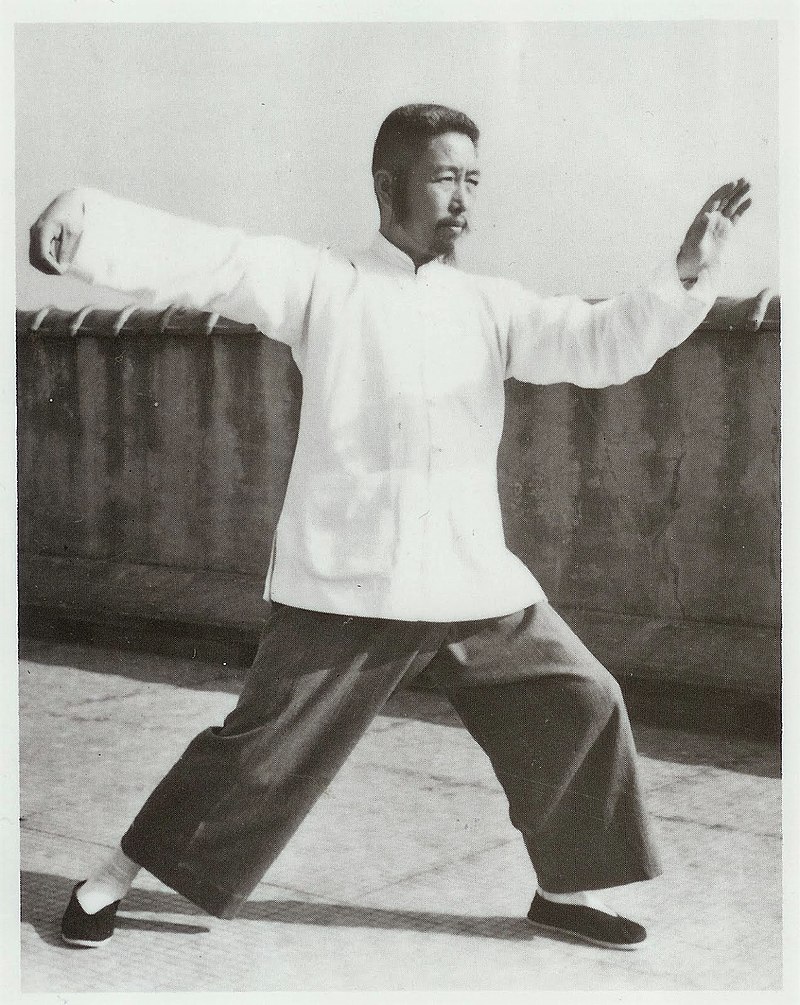
The Tai Chi move “Single Whip” (Dan Bian), has the same character for whip as the one used for the ‘sword breaker’. It’s also similar to the characters for ‘shoulder pole’, which I’d previously speculated was a possible origin for the name. But people who are better at Chinese than me have cast doubt on this theory. It seems much more likely that it’s the ‘sword breaker’ weapon that is being referred to, not a shoulder pole.
To quote Atomic Tai Chi:
“Recently I’ve been made aware of some theories about the meaning behind “Single Whip” 單鞭 (dān biān)
Basically the claim is that the posture resembles a farmer carrying something on a pole or yoke and that the name refers to this yoke.
This yoke or shoulder pole is called 扁擔 (biǎndan)
So right away, simply linguistically, this claim is a little bit problematic.
English Character Pinyin Romanization.
Single Whip 單 鞭 dān biān
Shoulder Pole 扁 擔 biǎndan
We’re dealing with four completely different characters with completely different meanings. The dan in biandan is POLE not single.To a native Chinese speaker this is like comparing apples to tennis balls. It’s just a ridiculous claim.”
The post goes on to look at the historical record, which is fairly interesting, and makes the case for the bian being the ‘sword breaker’.
Fair enough, the shoulder pole idea was just a theory of mine based on the similar name, and the way it looks. As with all good theories, it can be disproved with evidence. But as I also said in that original post of mine:
“The ‘whip’ could also be used as a weapon in Chinese Marital Arts. Again, it was usually referring to a short stick, not a flexible whip. In the excellent “Chinese Martial Arts Training Manuals” by Brian Kennedy and Elizabeth Guo you’ll find a description of a book called “Tiger Tail Whip” by Jiang Rong Qiao published in 1930. It features a “long routine for the metal tiger tail ‘whip’, which is rigid and actually amounts to a type of cane.””

The ‘sword breaker’ or ‘bar mace’ was certainly more substantial than a cane. As the name implies, it could break swords, but it was also good for attacking heavily armoured soldiers as it could impact the person under the armour. Check out what it could do in this excellent video:
What’s in a name?
But it’s still hard to work out why the Single Whip posture would be named after the ‘sword breaker’ in the first place. I mean, the posture doesn’t resemble the weapon at all… But then I saw something very interesting recently:
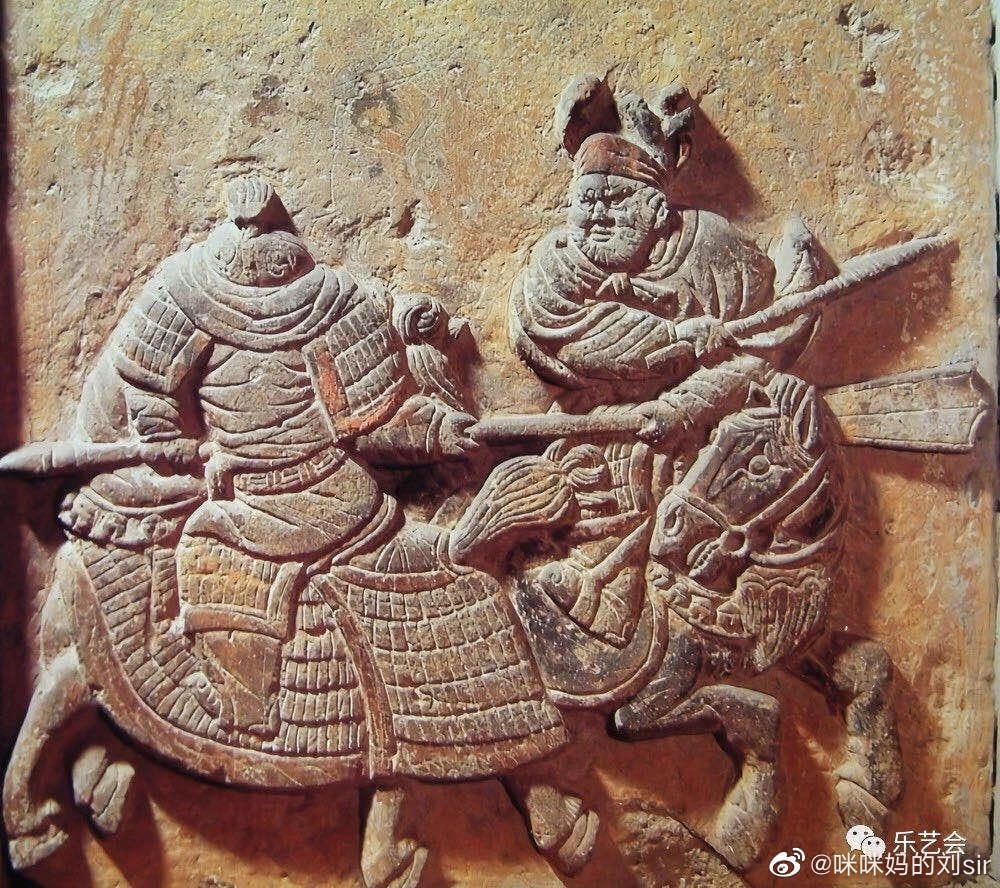
A post on the Facebook page “Collecting Chinese armor&Art” has the following (I’ve corrected the spelling):
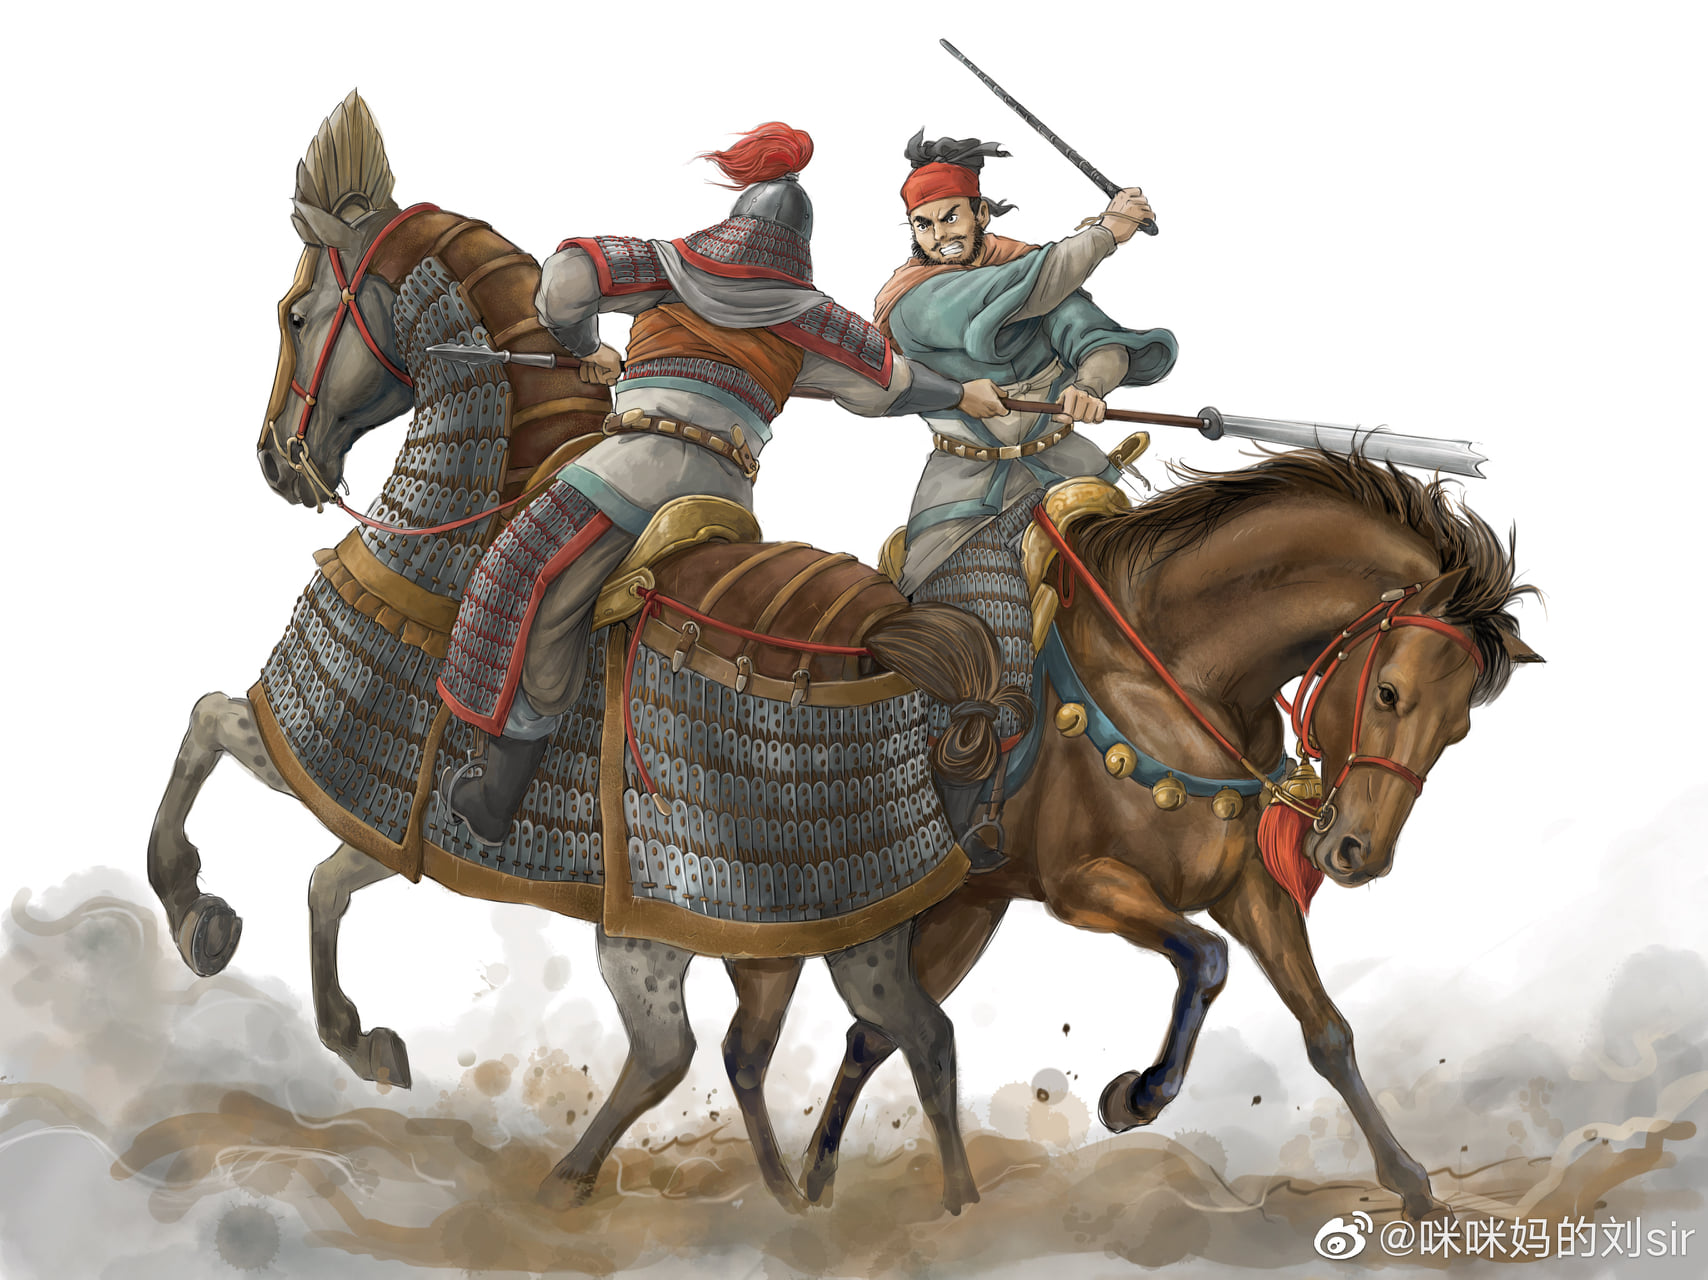
“This brick carving is from a tomb of Jurchen Jin (1125–1234), describing a battle between Song and Jin cavalries. The one who faced to us with a sword breaker 锏 might be Jin cavalry, who snatched the pole weapon (三尖两刃刀, lit. ‘Three points double edged blade’ fig. 3) away from Song cavalry and swung his sword breaker 锏 to attack his head from right to left. Song cavalry’s head and helmet were totally whacked. Well, pole weapon user should always keep distance with enemy and, such blunt weapons like mace, sword breaker etc. are really excellent weapon against heavy armor.
Picture 2 was drawn by 咪咪妈的刘sir.”
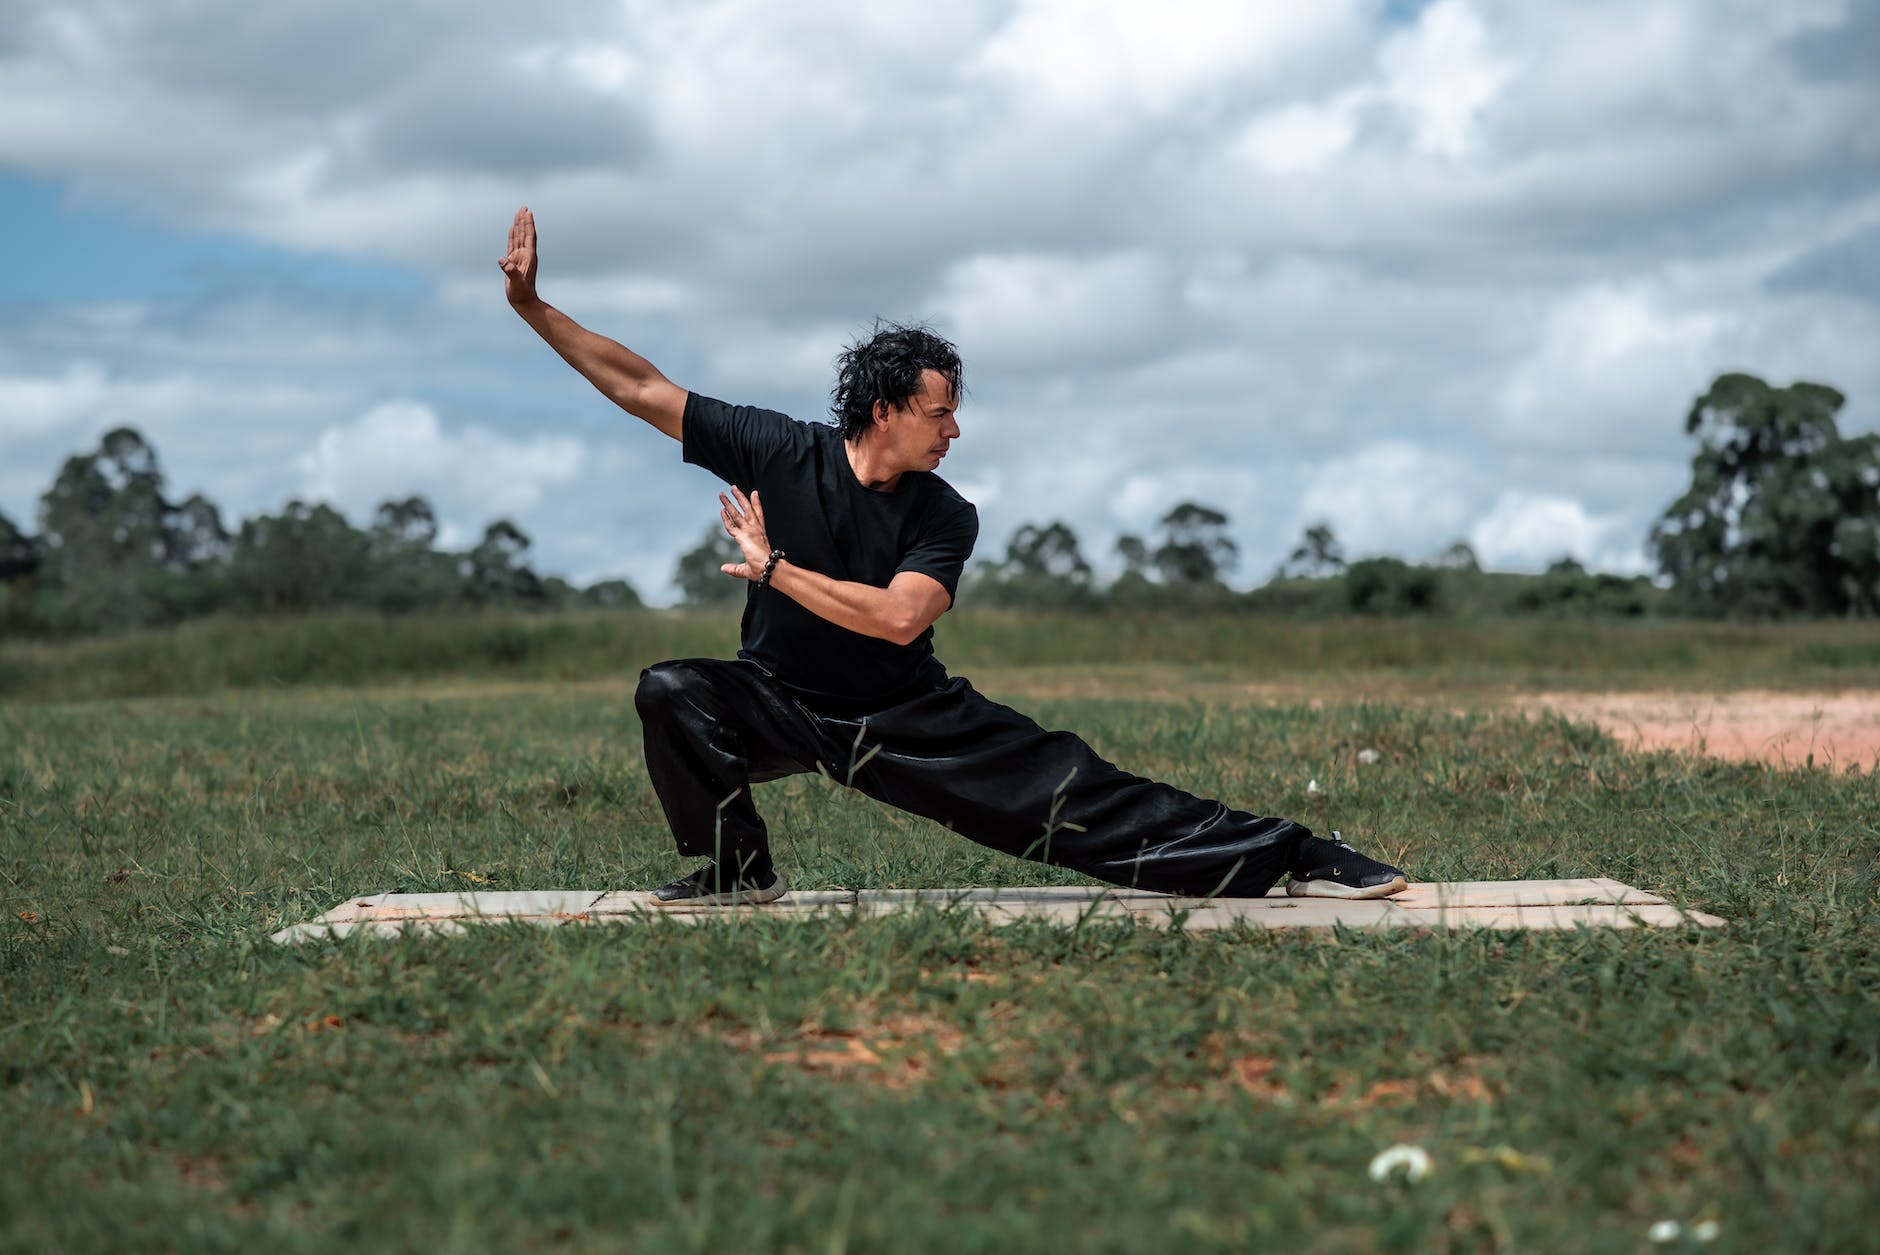
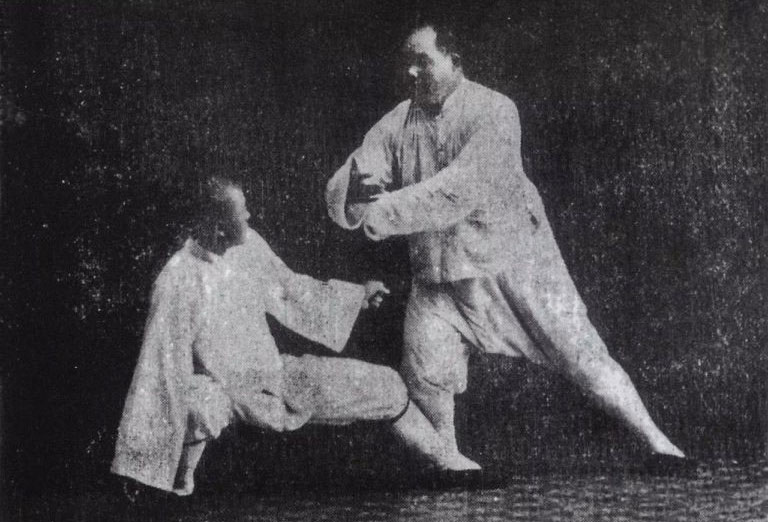
Now, what I notice about this carving, and the painting, is that it isn’t a million miles away from the application of single whip that we practice in our Tai Chi. Check it out:
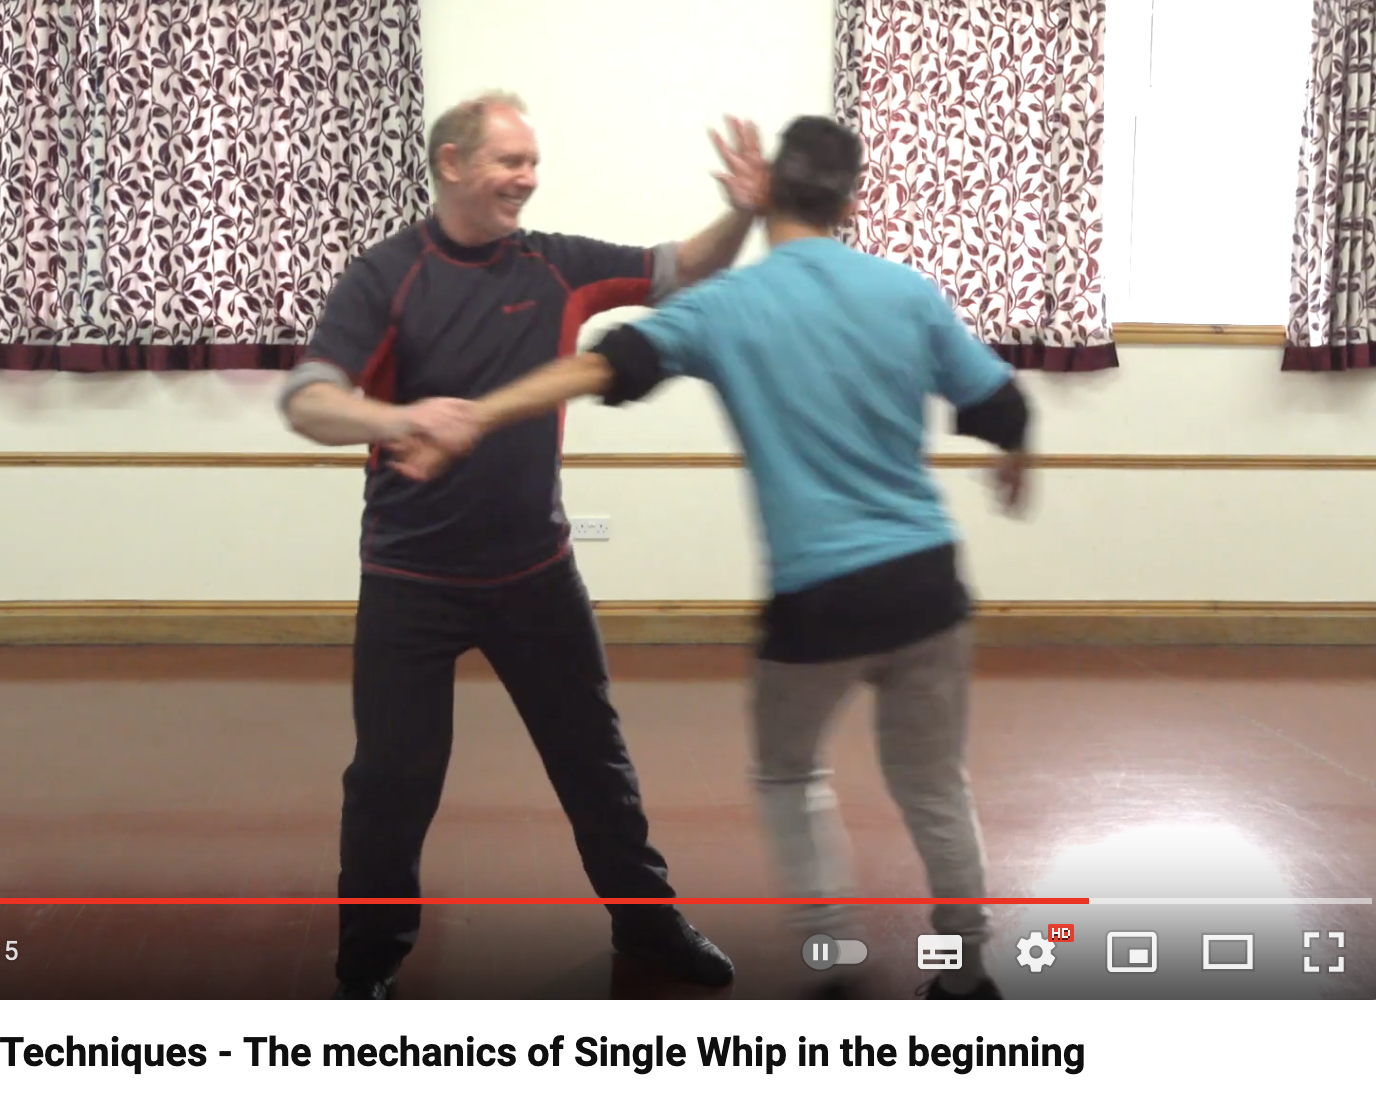
That’s a still taken from the video:
Maybe that’s where the name “Single Whip” comes from? The application of the move is certainly similar to the way you’d use a ‘sword breaker’ way back in the Jin/Song wars to grab the opponent’s long pole weapon and bash them on the head with your ‘whip’.
But why “single”? Well, it turns out that the ‘sword breaker’ was often a two handed weapon. You had one in each hand, as this carving of the Jin cavalry shows:

You can also see double maces being used by cavalry in the painting that opens this article.
It’s as good an explanation for “single whip” as I’ve read anywhere else. And at least this reasoning makes some sense. At the end of the day, it’s just another theory, ready for some eager beaver to disprove.
Perhaps this is the true application? 😉