This is a nicely made video about Tai Chi Push Hands:
Some quick observations:
1) I quite like the emphasis on feeling where the opponent is during push hands instruction – I think this is bang on.
2) “Sensei Seth” correctly identifies very quickly that push hands competitions are very, very, similar to Sumo. And if you’re good at Sumo then you should be good at this, and indeed, he is.
3) There are some fascinating insight into the teaching process here. Seth seems to do a few things that are “wrong” according to the laws of Tai Chi, but are working (i.e. sticking his butt out and leaning forward), however, he gets corrected by the instructor to stop doing it. I just find that interesting. The “Stop cheating, it makes you win!” mentality is rife all over the Tai Chi world. It’s one of the reasons I avoid push hands with people unless the conditions are right (i.e they are the right sort of person). I much prefer the “Hey, if it works, then it works! It’s up to you to figure out what I’m doing and stop me” mentality of BJJ.
4) In the end, with competitive push hands, the better wrestler always wins the exchange (for example, when they are doing the ‘foot outside the square’ push hands). So, if you want to be good at competitive push hands then why not just learn some wrestling? You can even keep things Chinese by learning Shuai Jiao.
5) I like this coach – he’s clearly skilled, but competitive push hands is the problem here. Even this coach gets super tense when under pressure because of the need to win. I just think that Push Hands is better used as a training exercise for learning TCC skills – when it gets competitive, all the principles go out the window (unless you are very, very, very very good).
This post is going to start somewhere you don’t expect – over 1,000 years ago in Song Dynasty China during which we find the legendary founder of Xing Yi, Yue Fei, a general in the Song Dynasty army, mulling over the advancing (heavily armoured) Jin cavalry, and wondering how his foot soldiers are going to fair against the crushing advance of an army that had destroyed the Liao Dynasty troops, scattering them to the Western regions.
The Jin/Song wars would last a century, starting in 1125, when the Jin attacked the Song after a series of negotiations between the previous allies failed. During this period North and Southern China was effectively separated between Jin and Song, with the Song retreating into the south of China. The Jin advance into southern China in 1130 was stymied by Song generals like Yue Fei and Han Shzhong. Eventually the Song allied with the Mongols in 1233 to defeat the Jin, but the Mongols then went on to defeat their previous allies, the Song, and thus the Yuan Dynasty was born.
But why this history lesson? Well, one weapon that was popular during the Song/Jin wars was the ‘sword breaker’ called a bian, which translates as ‘whip’. But it was a very solid short stick made of iron, not a flexible whip. It was often used on horseback because it was effective against heavily armoured warriors, and the Jin cavalry was very heavily armoured.
The Tai Chi move “Single Whip” (Dan Bian), has the same character for whip as the one used for the ‘sword breaker’. It’s also similar to the characters for ‘shoulder pole’, which I’d previously speculated was a possible origin for the name. But people who are better at Chinese than me have cast doubt on this theory. It seems much more likely that it’s the ‘sword breaker’ weapon that is being referred to, not a shoulder pole.
“Recently I’ve been made aware of some theories about the meaning behind “Single Whip” 單鞭 (dān biān)
Basically the claim is that the posture resembles a farmer carrying something on a pole or yoke and that the name refers to this yoke.
This yoke or shoulder pole is called 扁擔 (biǎndan)
So right away, simply linguistically, this claim is a little bit problematic.
English Character Pinyin Romanization. Single Whip 單 鞭 dān biān Shoulder Pole 扁 擔 biǎndan
We’re dealing with four completely different characters with completely different meanings. The dan in biandan is POLE not single.
To a native Chinese speaker this is like comparing apples to tennis balls. It’s just a ridiculous claim.”
The post goes on to look at the historical record, which is fairly interesting, and makes the case for the bian being the ‘sword breaker’.
Fair enough, the shoulder pole idea was just a theory of mine based on the similar name, and the way it looks. As with all good theories, it can be disproved with evidence. But as I also said in that original post of mine:
“The ‘whip’ could also be used as a weapon in Chinese Marital Arts. Again, it was usually referring to a short stick, not a flexible whip. In the excellent “Chinese Martial Arts Training Manuals” by Brian Kennedy and Elizabeth Guo you’ll find a description of a book called “Tiger Tail Whip” by Jiang Rong Qiao published in 1930. It features a “long routine for the metal tiger tail ‘whip’, which is rigid and actually amounts to a type of cane.””
“Chinese Martial Arts Training Manuals”, by Brian Kennedy and Elizabeth Guo
The ‘sword breaker’ or ‘bar mace’ was certainly more substantial than a cane. As the name implies, it could break swords, but it was also good for attacking heavily armoured soldiers as it could impact the person under the armour. Check out what it could do in this excellent video:
What’s in a name?
But it’s still hard to work out why the Single Whip posture would be named after the ‘sword breaker’ in the first place. I mean, the posture doesn’t resemble the weapon at all… But then I saw something very interesting recently:
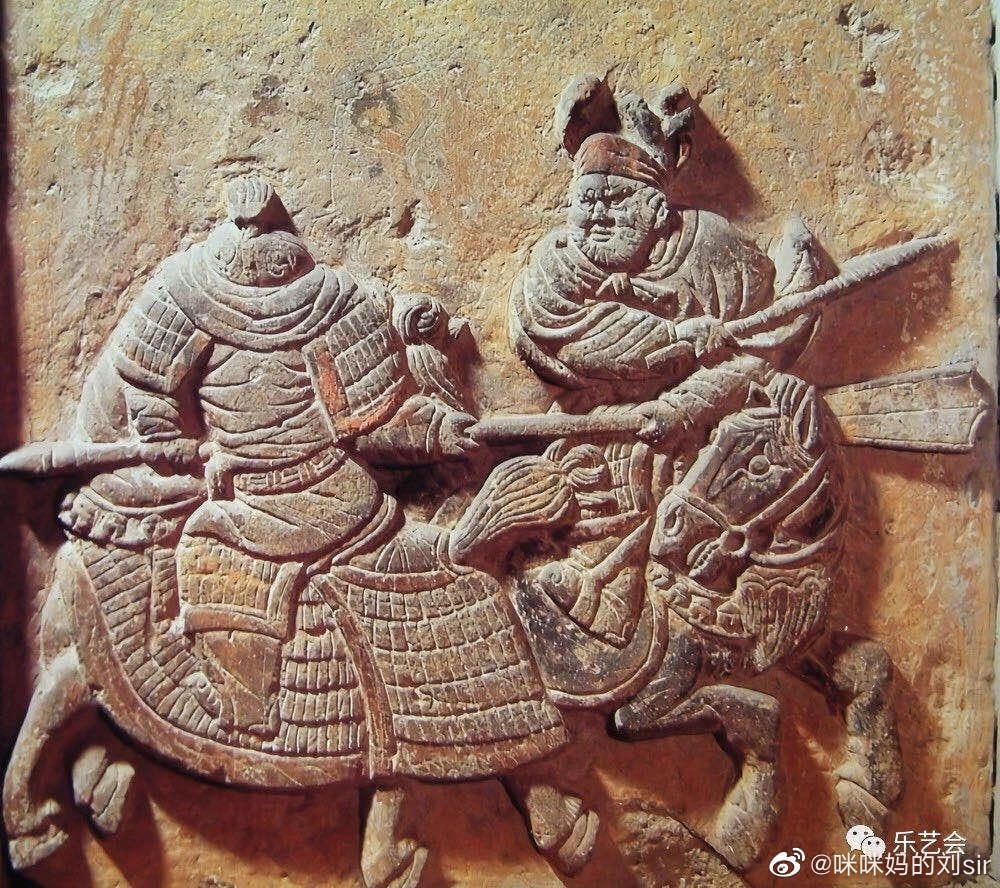
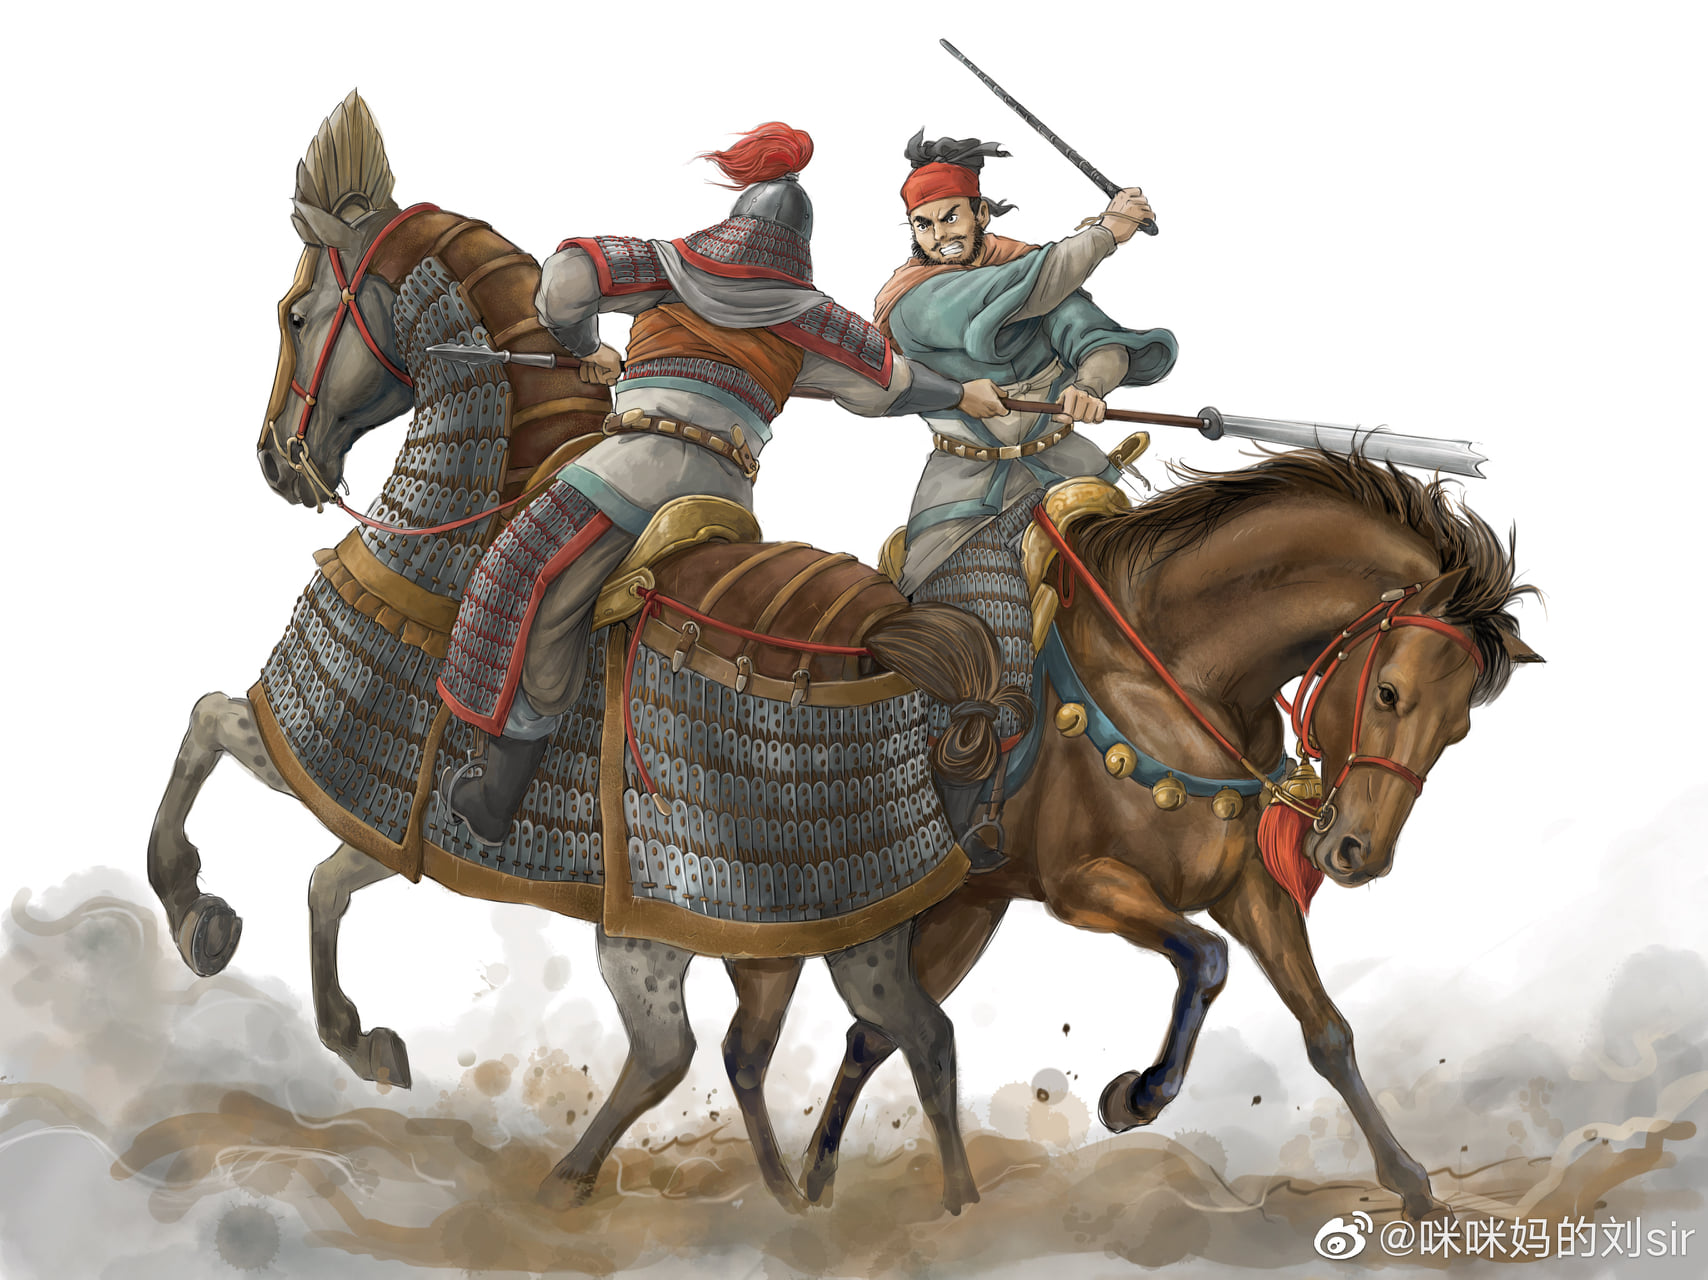
“This brick carving is from a tomb of Jurchen Jin (1125–1234), describing a battle between Song and Jin cavalries. The one who faced to us with a sword breaker 锏 might be Jin cavalry, who snatched the pole weapon (三尖两刃刀, lit. ‘Three points double edged blade’ fig. 3) away from Song cavalry and swung his sword breaker 锏 to attack his head from right to left. Song cavalry’s head and helmet were totally whacked. Well, pole weapon user should always keep distance with enemy and, such blunt weapons like mace, sword breaker etc. are really excellent weapon against heavy armor. Picture 2 was drawn by 咪咪妈的刘sir.”
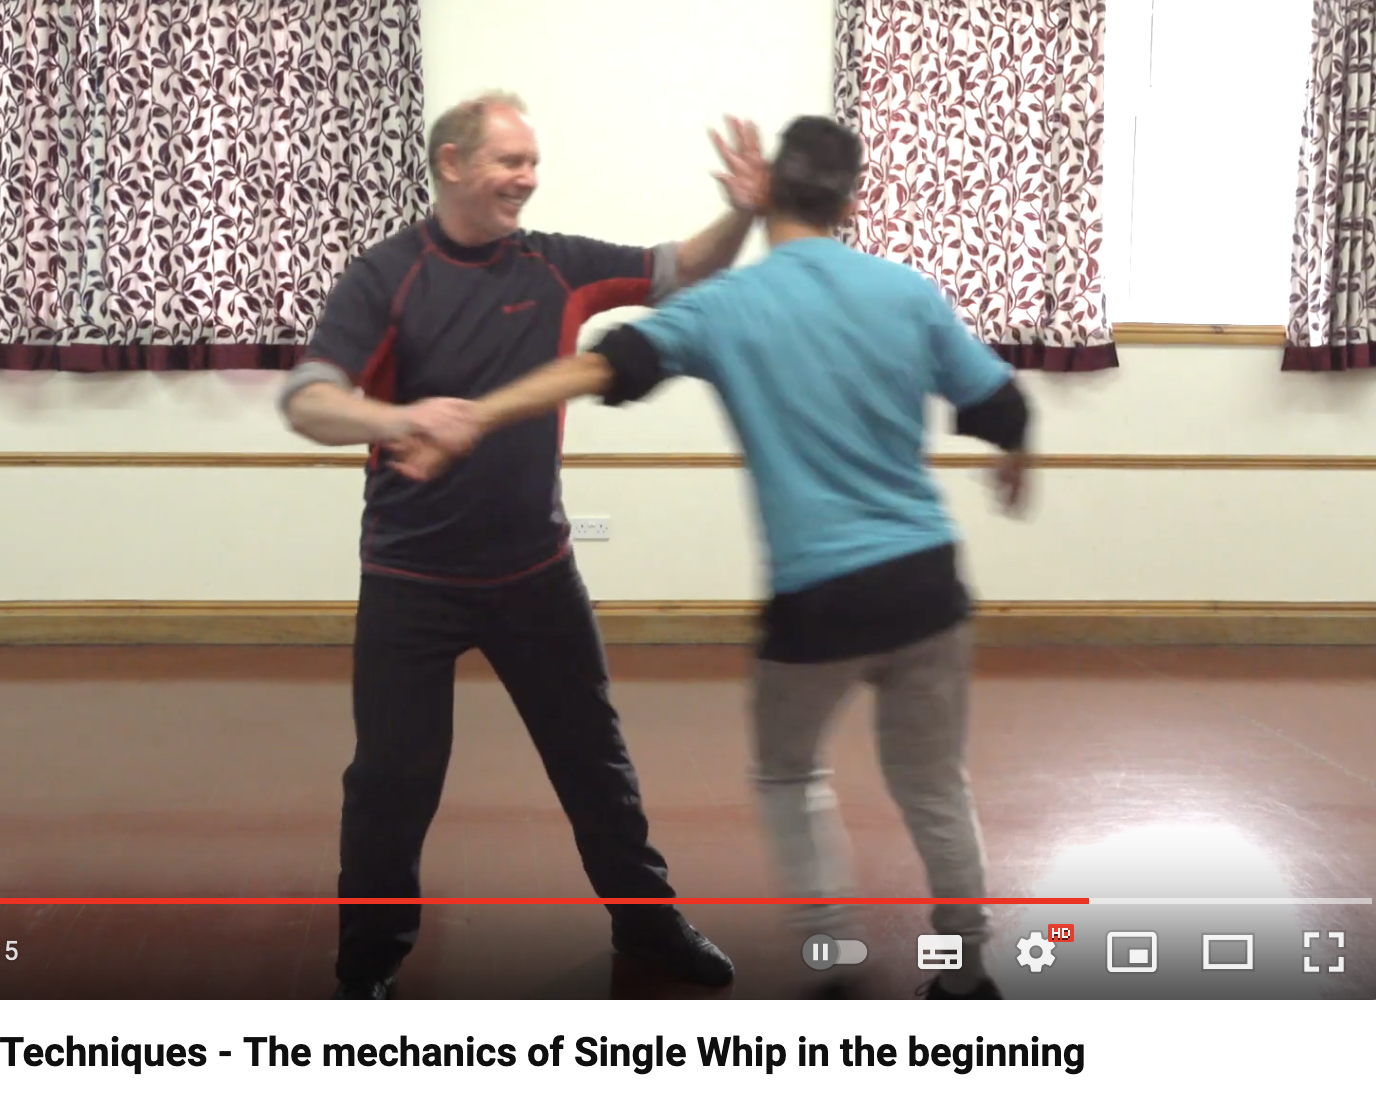
Now, what I notice about this carving, and the painting, is that it isn’t a million miles away from the application of single whip that we practice in our Tai Chi. Check it out:
Maybe that’s where the name “Single Whip” comes from? The application of the move is certainly similar to the way you’d use a ‘sword breaker’ way back in the Jin/Song wars to grab the opponent’s long pole weapon and bash them on the head with your ‘whip’.
But why “single”? Well, it turns out that the ‘sword breaker’ was often a two handed weapon. You had one in each hand, as this carving of the Jin cavalry shows:
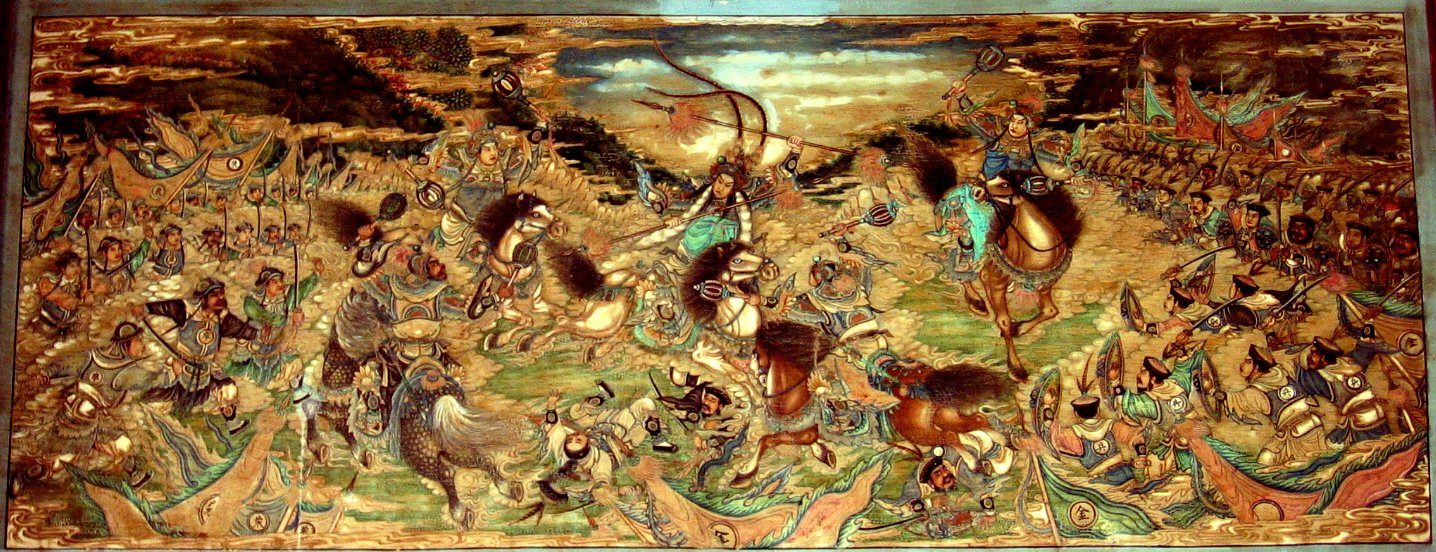
You can also see double maces being used by cavalry in the painting that opens this article.
It’s as good an explanation for “single whip” as I’ve read anywhere else. And at least this reasoning makes some sense. At the end of the day, it’s just another theory, ready for some eager beaver to disprove.
There is a phrase in Tai Chi that the whole body is a fist. I think it actually comes from Chen style, but applies to all styles of Tai Chi. Now, you can interpret that in different ways, but I think all of them are valid.
Firstly, it’s saying that it doesn’t matter what part of the body you hit with, so if you’re using Jin channeled from the ground into the target, the path it takes could go through the shoulder, or elbow, or head, for example, just as easily as it can to the fist. Tai Chi in application tends to be at close range, sometimes body to body, so limiting yourself to boxing range doesn’t make much sense.
Another way to look at it (and I think this is potentially more useful) is to think of the action of opening and closing the body as being similar to opening and closing a fist. While the concept of opening and closing the body is hard to grok, everybody is familiar with the idea of opening and closing the fist. In Tai Chi (and other ‘internal’ arts) that opening and closing is done with the whole body. While some internal arts (particularly Xin Yi) go for a open/close/ followed by a hard stop then repeat type of action, Tai Chi is particular amongst the internals in that is opens and closes in a smooth, continuous motion in a fluid series of motions. There’s never a hard stop in the form. You could say that this is defining feature of Tai Chi.
Practical training
So, let’s get to practical training. The ins and outs of how you open and close the body are to do with the 6 harmonies and silk reeling. I created a short video series years ago now, that looked at this. Watching the video is a lot easier than me trying to explain it all in text.
But here’s a training idea: do your Tai Chi form, and try and feel where the open and close movements are in the form. Even just doing the form with the mental attitude of ‘listening’ for where the body naturally opens and where is naturally closes is a practice in and of itself, that can reap rewards.
Derek frequently refers to this idea of ‘the whole body is a fist’ in the podcast and how that applies to Xin Yi. I think that it’s a good listen for Tai Chi practitioners because the idea of opening and closing the body and the 6 harmonies all come from Xin Yi – one of the oldest documented Chinese martial arts. That’s where Tai Chi gets them from.
Derek also talks a few times about another interesting idea, which is that Chinese martial arts aren’t there to teach you to fight, they’re training systems. He suggests going to learn boxing, MMA, or whatever it is that appeals to you first, to get it out of your system before you approach Chinese martial arts. Now, that’s going to be a controversial idea for a lot of my readers, but it’s also a very interesting idea that I don’t think is without merit. Have a listen and see what you think.
I’m always on the look out for interesting bio mechanical things and that search recently lead me to a character called David Weck, who is known as the ‘Head over Foot Guy’. Of course, that’s not his only idea about biomechanics- he’s got loads of them – but this video is a good introduction to his Head over Foot idea:
(It’s unfortunate that there’s a picture of the controversial social media influencer Andrew Tate in the header image for that video, because he doesn’t feature in the video. I guess they’re just using him as an example of a good walker, but while he may be a good walker, I don’t like him or his opinions, nor do I think he’s a good example for kids to follow).
The ‘head over foot’ idea can be explained very easily – if you’re going to stand on one leg, then your head has to be directly over your foot if you want your balance to be good. You can try this now, by standing on one leg and playing with where your head balances over your foot. I think he’s right – if you move your head anywhere else but over your foot then your balance starts to go.
Weck then takes this into the idea of walking, so instead of the usual description of walking that you read, which is that it’s a series of controlled falls, if you alternately put your head over your foot as you walk then you end up with a more athletic, balanced and confident walking style with a bit of swagger. You can start off over exaggerating the swagger, then work on reigning it in and making it smaller until it’s hardly noticeable.
I like it – it takes a bit of getting used to, but the alternative of trying to keep your spine neutral and upright (as we are encouraged to do in Tai Chi) ends up with a very forced, stiff, walking pattern. The alternative walking pattern of placing your foot over your head creates a kind of infinity symbol movement around the solar plexus with an alternating pattern of one side of the body shortening and the other side extending.
The idea of being upright is talked about a lot in the Tai Chi classics. For example, the Tai Chi classics say “Stand like a perfectly balanced scale” (from the Treatise) and
“The upright body must be stable and comfortable to be able to sustain an attack from any of the eight directions.” (from the ‘mental elucidation of the 13 postures’.)
But that doesn’t mean that you should look like a robot when you do it. Your body is a fluid collection of hard unbending bones connected by soft joints that allow for movement. It is designed to move in spirals, and the ‘head over foot’ idea promotes this spiral movement.
A lot, in fact, almost all, of the time in Tai Chi your weight is either on one foot or the other, or you are actually standing on one leg with the other leg kicking. So, I find that thinking about whether your head is over your foot as you do the Tai Chi form is actually a good idea. If it is then your balance will be better.
Think about the classic Tai Chi walk. We do this exercise called the Hero Stroll, which looks like this:
It’s worth doing this and thinking about the concept of keeping your head over your foot as you do it, then applying that to your Tai Chi form. Hopefully you’ll find your Tai Chi becomes more balanced, especially in the kicking movements. I find that this is where a lot of beginners have problems – they can’t balance on one leg. Well, here’s the solution!
So, it turns out that they’re remaking the classic 1989 film Road House because, well, I guess some Hollywood executive has decided that it will make money. I can’t think of another reason why you’d want to remake one of the best-loved and enduring “fighty” films from the ’80s. The new version starts Jake Gyllenhaal as Dalton, and MMA superstar Conor McGregor as his nemesis, Knox. It’s combining more modern things like MMA into the mix, but it looks like it’s essentially the same plot. Trailer:
The original Road House is probably not classified as a martial arts film, because it mixed so many different film styles together, and didn’t really feature any famous “martial artists” in the cast, but Road House always felt like a classic martial arts film to me, just with more Western style fighting in the fight scenes.
It started Patrick Swayze as the bouncer of the aforementioned Road House, who has to deal with an onslaught of progressively worse ‘bad guys’ who are trying to bust up his bar, until he faces the final bad guy in a fight that remains forever legendary for its brutal throat ripping out scene, at least it’s legendary in my mind. It also had some great Blues music played ‘live‘ in the Road House, by the Jeff Healey Band.
Swayze was most famous for his role as a sexy dancing Butlins-entertainer in another classic ’80s film, Dirty Dancing. Casting him as a tough guy who could convincingly take out bad guys armed with knives and the like with his bare hands was a risky casting move, but he pulls it off with style and grace, perhaps proving once again that dancing is the best base for martial artists to emerge from (Bruce Lee was a Cha Cha dancer).
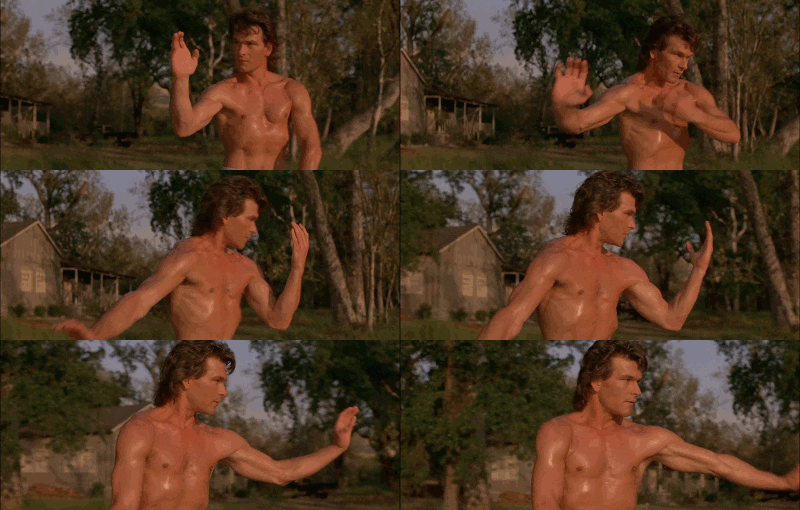
But what I liked most about Road House was the Tai Chi. When Dalton wanted to kick back and get away from the pressures of life he rocked up to the local lake shore and did some Tai Chi, (without his shirt on, obviously*.)
Ok, it wasn’t great, but at least it looked like Tai Chi. The implication was that Dalton was so good at fighting, and secretly enjoyed it so much, that he had to work hard to keep calming himself down otherwise his killing power would bubble up and overwhelm him, taking his humanity with it – kind of like the Hulk. He talks all the way through the film about not liking fighting, and how he does everything to avoid it. Eventually the bad guys push him too far and he unleashes the beast, resulting in the classic throat ripping scene.
I’ve always wondered why Tai Chi never had its Patrick Swayze moment. Wing Chun has been riding on the coat tails of Bruce Lee for half a century now, yet nobody really associates Tai Chi with Patrick Swayze, or this film. Perhaps if he’d gone on to make more Tai Chi or martial arts related films then things would have been different. Instead we got Ghost with Demi Moore and sexy pottery because his most associated activity!
Perhaps I’m being too hasty – when I started a Tai Chi class recently 4 women turned up asking if what they were going to learn was “like Patrick Swayze in Road House”? To be honest, I got the impression that they were more into shirtless Patrick than Tai Chi 🙂
Just remember: “I want you to be a nice…until it’s time to not be nice.”
“*” there was clearly a homoerotic subtext to the original Road House. While Swayze pratices shirtless Tai Chi he is gazed at by multiple men. Check out this exhaustive breakdown of Road House for more on that. Perhaps that’s another reason why Road House didn’t end up being a Tai Chi-promoting juggernaut?
One of my projects for 2024 is to start teaching Tai Chi again. I’m looking forward to the new challenge, and a new bunch of students. My class details are here. Hope to see you?
My friend Sifu Donald Kerr of Spinning Dragon Tao has been producing some great videos recently featuring my teacher, Sifu Rand, demonstrating Tai Chi applications from our version of the Yang form. If you’re interested, I’ve written an article about the full lineage of that form before, but a quick summary is that it’s the Yang form from before Yang Cheng-Fu’s modifications, but with some input from Sun Lu Tang, so it’s a bit of a hybrid.
Needle at Bottom of the Sea, Shoulder through the arm and White Snake Spits Out Tongue.
I thought I’d do some posts as new videos become available comparing the videos to the historical books on the style that contain photographs.
There are a couple of historical books available that catalogue the long form in quite some detail. The first is the 1938 book by Gu Ru Zhang, then there’s the 1952 book by his student Long Zi Xiang, both of which have been kindly translated by Paul Brennan.
I’m using the 1952 book by Long Zi Xiang here, as the photos are of a higher quality. The English versions of the move names will always be slightly different, depending on the translator. Brennan translates these moves I’m looking at today, in order, as Needle under the sea (海底針), Shoulder through the arm (肩通臂) and White Snake shoots out its tongue (白蛇吐信).
In our school we use the names Needle at Sea Bottom, Fan through back and we don’t have a name for what Long is calling White Snake… it’s just part of Fan through back.
The application Long describes for Needle at Sea Bottom is, “If the opponent punches to my chest, I grab his wrist and press down, making his power drop downward.” It’s a pretty short explanation, but it does seem to match the modern day demonstration quite well:
For Shoulder through the arm, Long says, “If an opponent strikes from in front of me, I use my right hand to prop up his fist so that he cannot lower it, at the same time using my left hand to obstruct his waist and send him outward, causing him to topple over.”
Again, that’s a pretty good explanation of what happens in that video.
Long has one more application for the part of the form we don’t name - White Snake… – which is a simple block and strike to a different opponent, “If an opponent punches to my waist, I then press down with my right hand while my body moves back so that his punch lands on nothing, and then I use my right [left] fist to strike to his face.“
We seem more interested in the next move, which is “Torso-Flung Punch” (撇身捶) according to Brennan’s translation. We call this move “Chop opponent with fist“, and it’s the natural conclusion to the previous moves, so I’ll add it on here:
The explanation for the application is: “If an opponent attacks me with a [left] punch and [right] kick at the same time, I then withdraw my right leg, causing his kick to land on nothing, my right hand pressing down his fist. Then my left palm pushes down on his arm, and my right hand turns over from inside with a strike to his face.” Which ties in very well with the video showing the application by Sifu Rand:
If you’ve been doing Tai Chi, meditation or yoga for any length of time you’ll have heard the old adage to ‘put your tongue behind the two front teeth‘. The explanation given for this is usually that it “connects the two meridians that go up the back and down the front of the body called the Ren and Du meridians, creating the micro-cosmic orbit”.
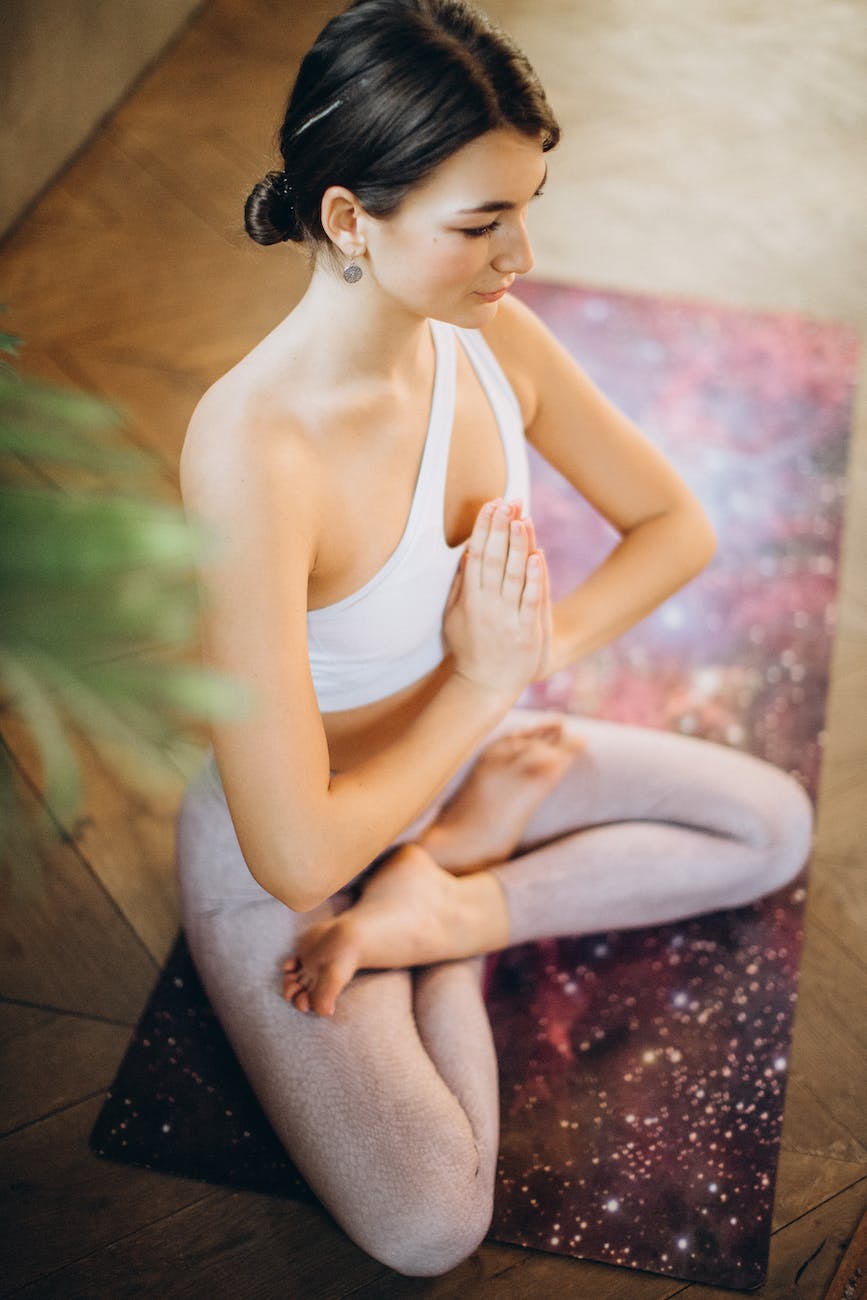
Micro cosmic orbit connected… man. Photo by Elina Fairytale on Pexels.com
Personally, I have my doubts about the whole idea of ‘energy’ or Qi ‘flowing’ around the body. I often think it’s really an ancient aberration of the simple idea of forces moving inside the body. In Chinese martial arts there’s a phrase you often hear – rise, drill, overturn, fall, which matches this circuit in the body with a martial technique. The best example of which is Pi Quan from Xing Yi, during which forces in the body (jin) rise up and then come crashing down into a strike.
Strength and balance
However, it’s not just Chinese medicine that recommends this tongue position. I’ve recently discovered that there are a lot of Western sources advocating the same tongue position. For example, Colgate toothpaste has an article about correct tongue position on its website that recommends the exact same thing – the tongue resting on the upper palette behind the two front teeth. The article links to a study in Radiology and Oncology called “Three-dimensional Ultrasound Evaluation of Tongue Posture and Its Impact on Articulation Disorders in Preschool Children with Anterior Open Bite“, which notes that “children with poor tongue posture were reported to have a higher incidence of anterior open bite, a type of malocclusion where the front teeth don’t touch when the mouth is shut. This may be because the tongue puts pressure on the teeth which can shift their position over time.” (Colgate).
In this article from Healthline, Dr. Ron Baise, dentist of 92 Dental in London explains “Your tongue should be touching the roof of your mouth when resting… It should not be touching the bottom of your mouth. The front tip of your tongue should be about half an inch higher than your front teeth.“
While dentists may be aware of the benefits of good tongue position for your teeth and preventing problems with your speech, or mouth breathing from occurring, some exercise enthusiasts are going further and claiming that proper tongue position actually increases your strength and balance, something that is undoubtedly important for martial arts, like Xing Yi.
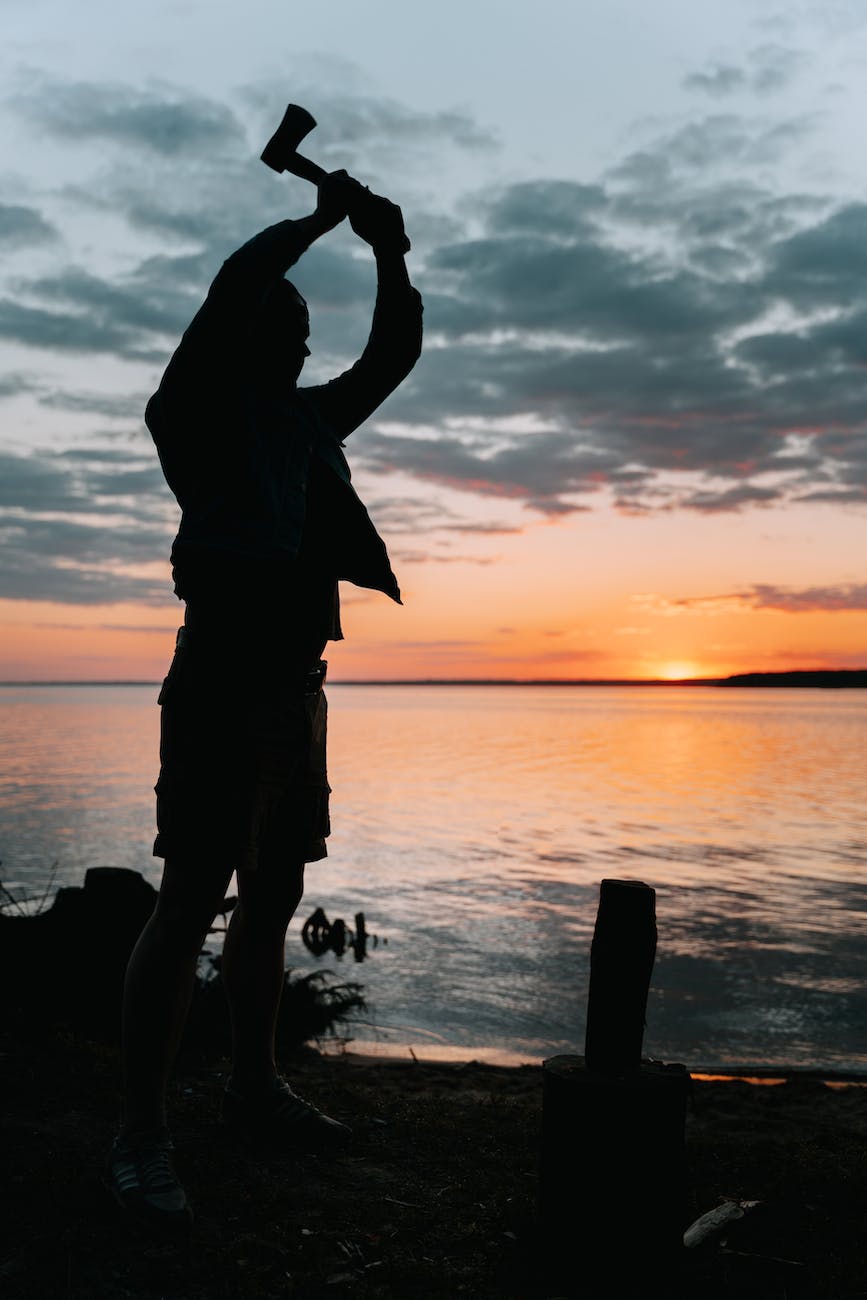
Pi Quan is said to be like the swinging of an axe. (Photo by Ivan Samkov on Pexels.com)
Now, I’m as aware as the next Tai Chi blogger that cherry picking studies that confirm your beliefs (and presumably ignoring everything that doesn’t) is a bit of a red flag. However, the idea that your tongue position effects strength and balance makes more sense to me than imaginary energy channels (Du/Ren) that may, or may not, exist in real life.
Apparently, good tongue placement can give you superpowers!
I remain slightly skeptical about the whole issue, however, my tongue does naturally rest behind my two front teeth on the upper pallet of my mouth… I can feel it there now as I write this. Was it always there? Or have I turned this into my natural position thanks to starting Tai Chi in my 20s?… I don’t know. All I can say is that it feels comfortable, and if my Ren and Du channels are connecting because of it, and my strength and vision is better because of it then…. so much the better.
“Stop doing the wrong thing and the right thing does itself.”
– F. Mathias Alexander.
Breathing has become a hot topic these days. There’s Wimm Hoff with his patented breathing methods for overcoming extreme cold all over TV and YouTube, breathing classes have sprung up in every town where you can go to where you spend an hour focusing on your breath (just type in the town you live in an ‘breathing classes’ into Google and I bet you find something), and of course, there still are all sorts breathing methods you can find out there in yoga, tai chi and qigong classes.
Often in Tai Chi we’re told that we should be performing abdominal breathing, or ‘Taoist breathing‘ – so, as you breathe-in the abdomen should expand and as you breathe out, the abdomen should contract*. We equate this abdominal breathing with deep breathing – almost as if the more we can ‘fill’ our abdomen with air, the deeper and better the breathing will be – and think that it therefore must be healthy. (* there is also reverse breathing, but that’s another topic).
Just breathe! (Photo by Spencer Selover on Pexels.com)
How to breathe
I recently started reading the excellent book ‘How to breathe’ by Richard Bennan, which has made me reconsider the way I’ve been approaching breathing in Tai Chi.
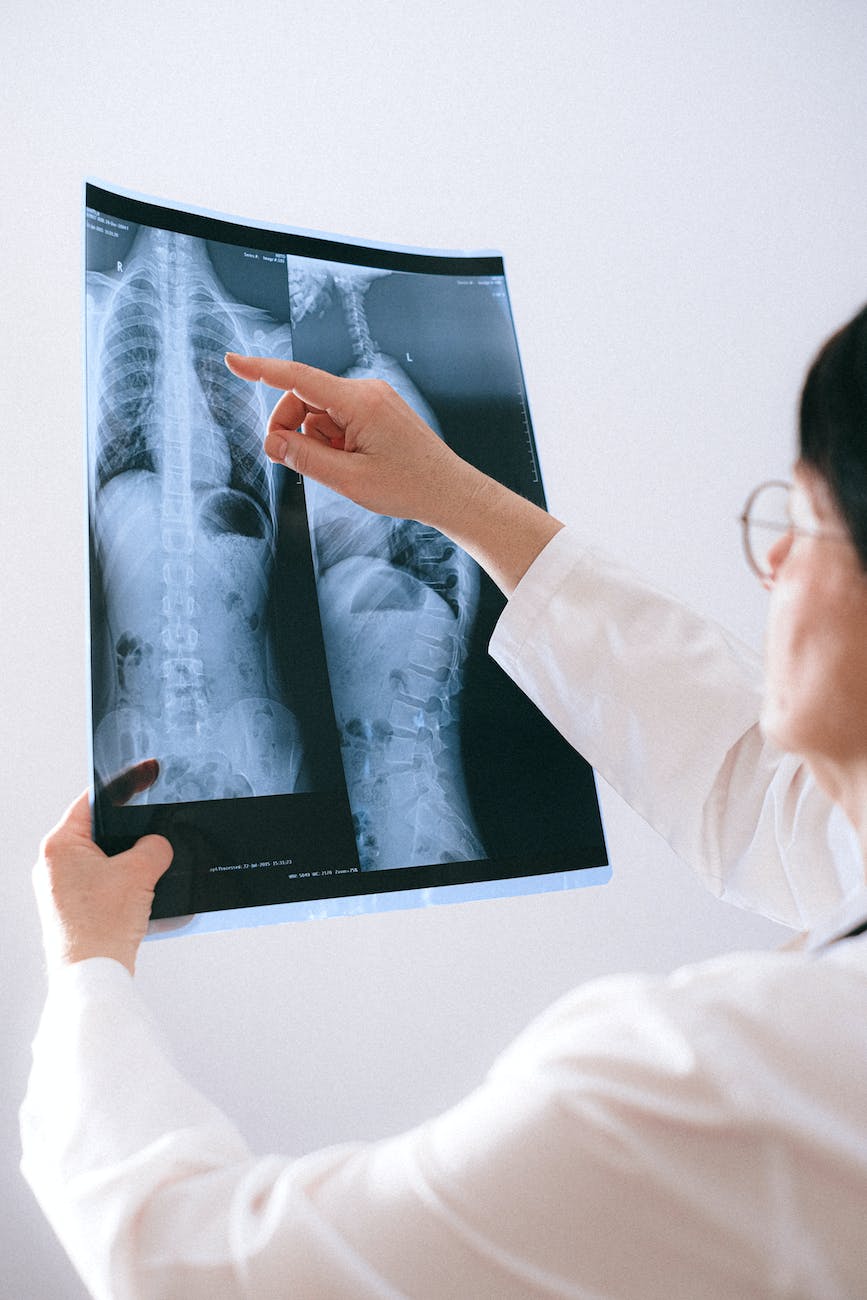
Firstly, let’s start with the basics. It’s worth remembering where your lungs are. They are behind the ribs and reach up higher than the collar bones on each side. Look at the picture below and you’ll be surprised by how far up the lungs go. So, when you expand your belly on an in-breath the air isn’t going down into your belly – it all stays in your upper torso. Of course, that might already be obvious to you, but you’d be surprised how many people think their belly is filling with air when they breathe in! It’s not.
When you practice ‘belly breathing’ what you should be doing is expanding the whole torso on an in-breath, and it’s this expansion of the lungsand the dropping of the diaphragm that pushes the abdomen down and outwards (on all sides, not just the front). If you start to try to use your abdomen muscles to lead the process, or force-ably expand or contract the belly as you breathe in and out then you are just adding tension to the whole process, which is the exact opposite of what you want. There should be as little tension as possible for efficient breathing. Trust the process – it will work on its own.
So, with me now, try an in-breath and focus on the lungs themselves filling up and expanding and this wave of expansion being the motivating force for expanding the belly. It doesn’t really happen in a step by step way either – everything expands at once. So, don’t try to fill one section of the torso, then another, that is also just adding tension. Equally, don’t try and keep the ribs still. They are designed to expand and contract with the lungs. If you try and keep them still, then, you guessed it… You’re just adding more tension.
Once you can visualise where your lungs are, (and how far up they go above the collar bones), then just focus on letting them expand freely, and stop interfering with the breathing process. Less is often more.
You might also like to think about the posture requirements of Tai Chi and what effect these might be having on your breathing. We often hear words like “round the shoulders”, “lift the back” and “hollow the chest” in Tai Chi. Think for a minute about what effect those directions, if followed literally, might be having on your breathing. Do you think they are beneficial or harmful? It’s something to consider anyway.
Breathing should feel amazing. It should feel smooth, natural and healing. And it will, if you stop interfering with it.
* I think reverse breathing is a deliberate hack to the body’s natural way of breathing, but I don’t think people should be attempting it before they’ve got better at breathing in a natural way first. If you are already breathing in an unnatural way, and then you try and add on something else, well, it doesn’t take a genius to realise that you’re headed for long term problems.
I had an interesting comment on my last post that made me think about the whole idea of making up your own forms (or Tao Lu) – in Tai Chi, Xing Yi, or whatever.
I’ve tried to do this over the course of several years and I’ve come to a few conclusions about it, which I’ll elaborate on here. Firstly, it’s hard. Making up new forms is not as easy as you think. But secondly, it depends what martial art you are making up a form in.
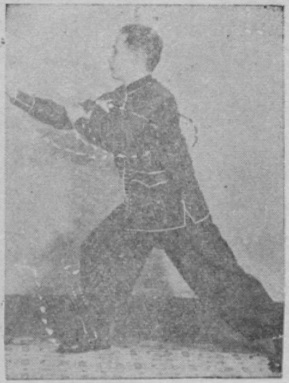
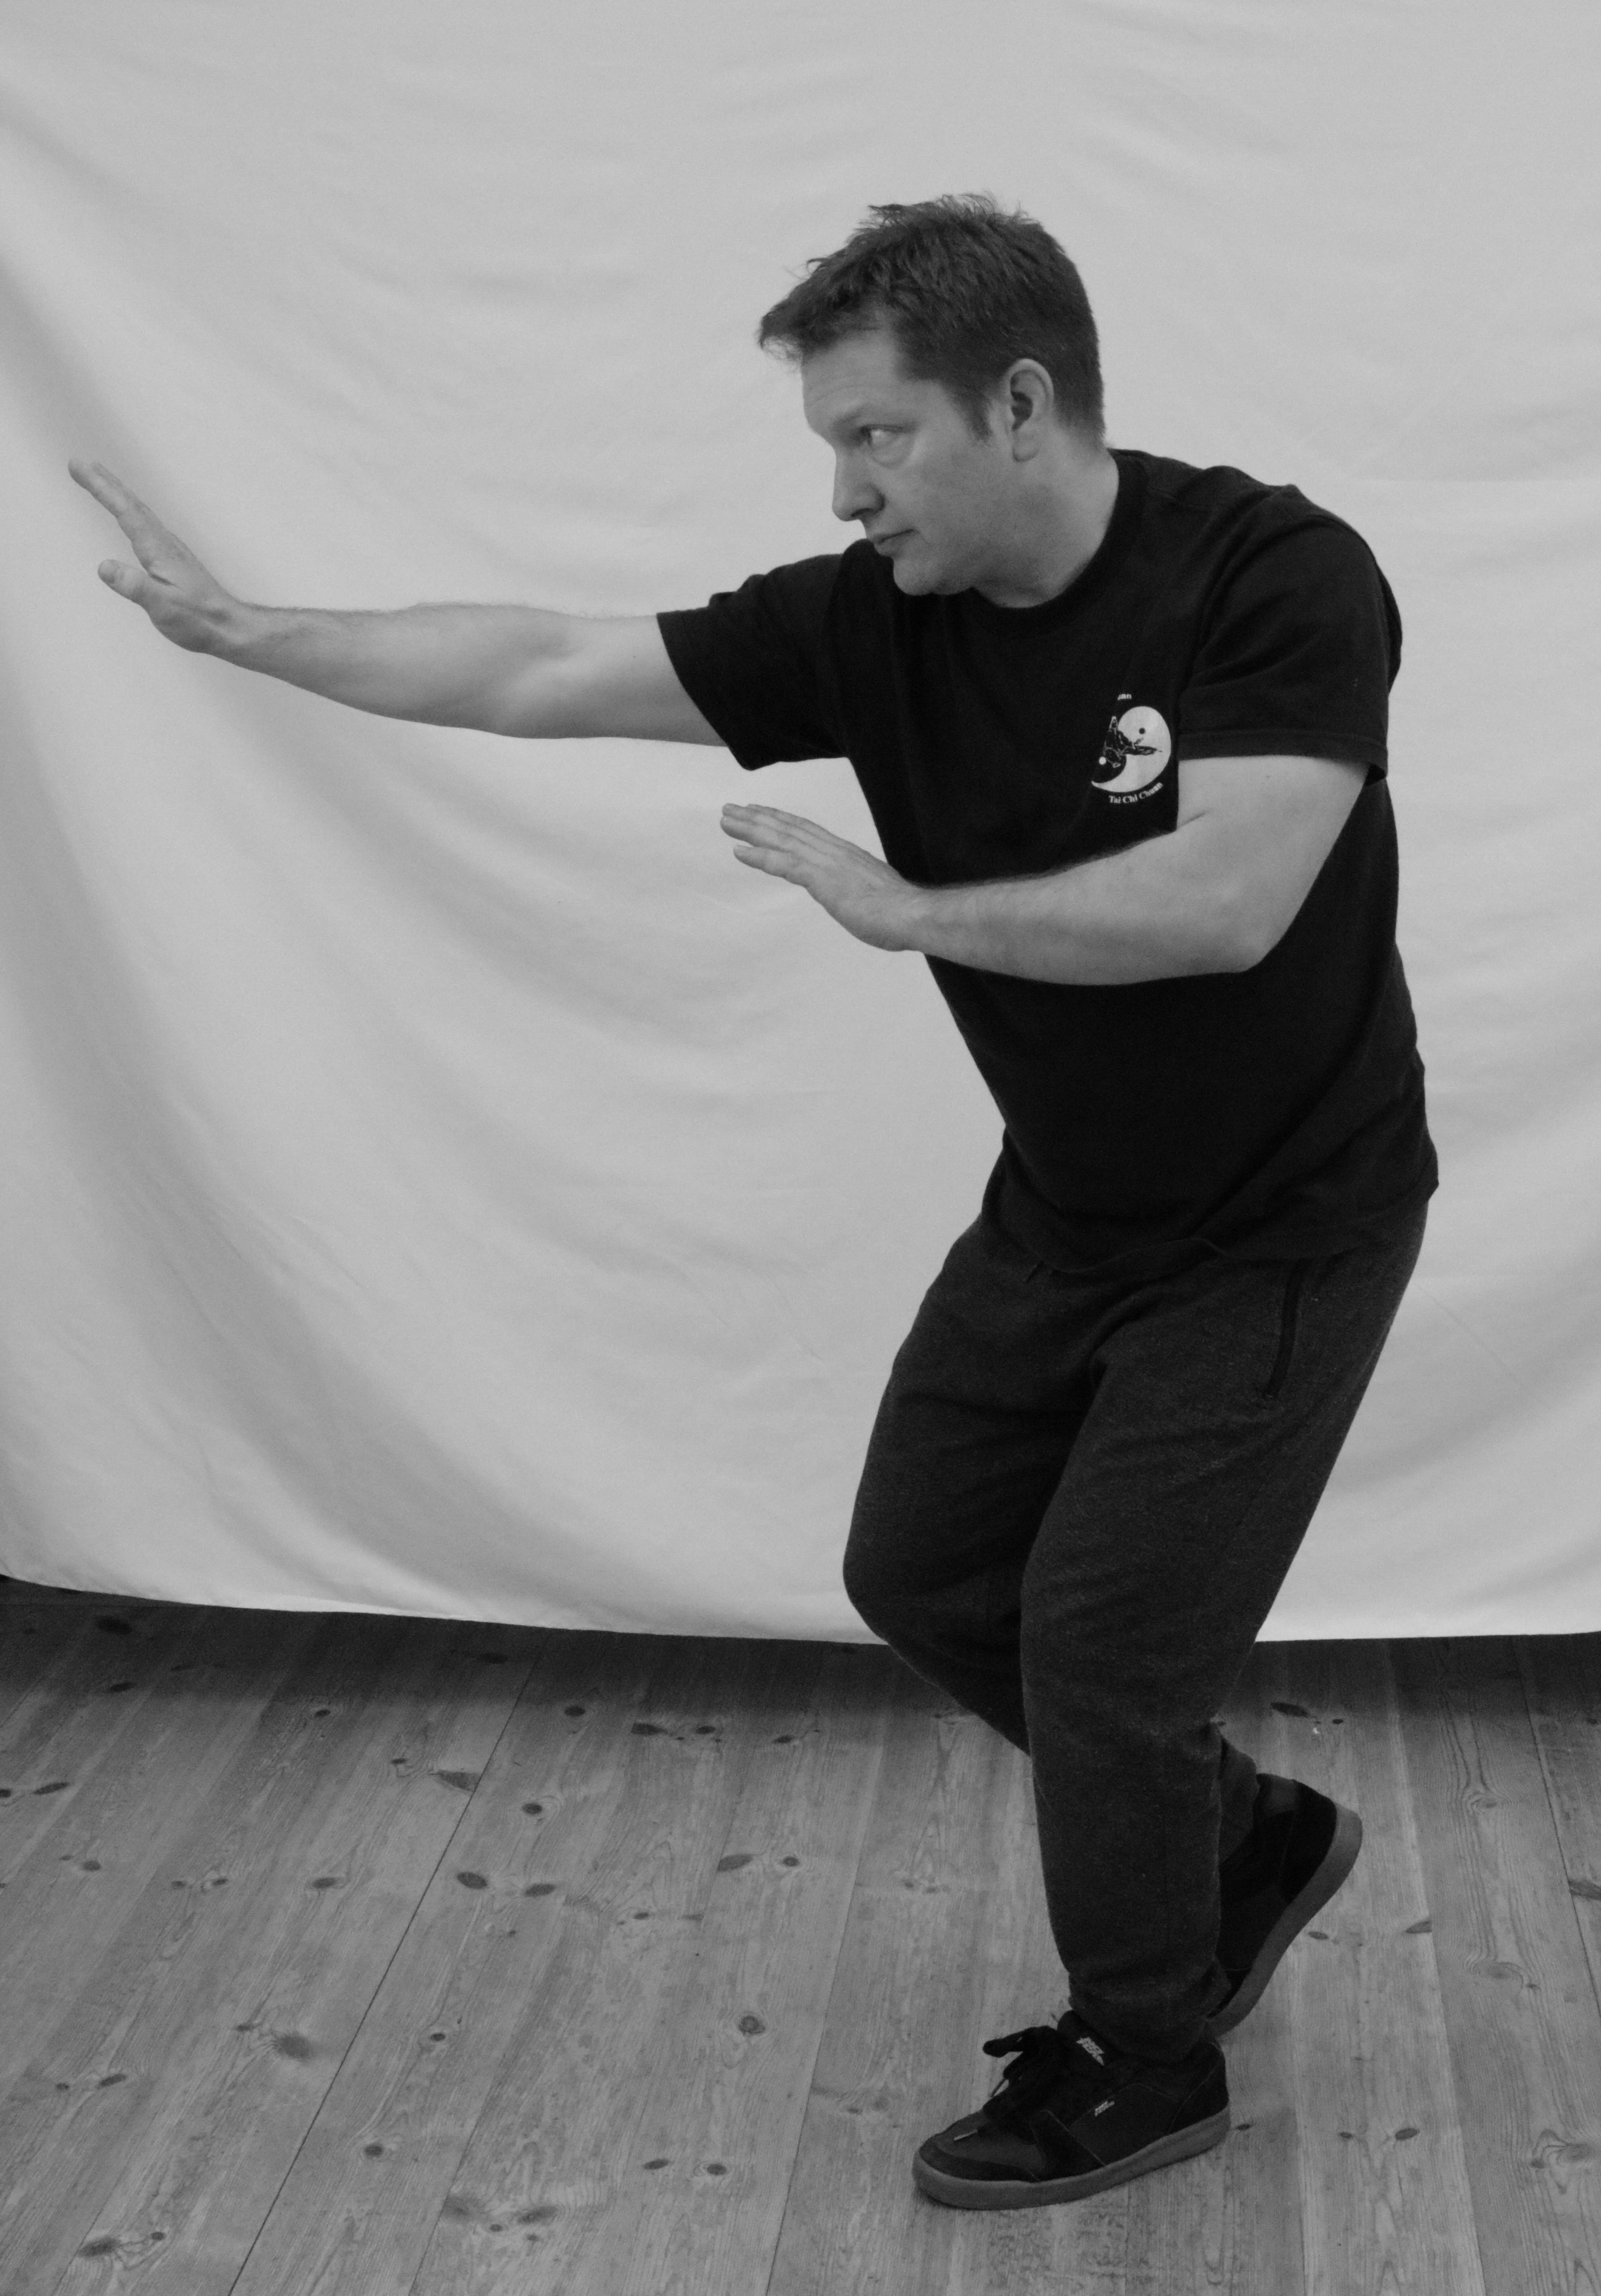
Author, performing Xini Yi Chicken (Ji) posture
If your martial art has forms that are constructed like lego bricks that can be slotted together in any order and still seem to work then it’s pretty simple to concoct a new form. Xing Yi is a good example of a martial art that has this quality. I was always told never to call Xing Yi tao lu by the English name “forms” because the correct term was lian huan which means “linking sequence” for this very reason.
The idea, (in our Xing Yi at any rate), is that all the links you learn are just examples, and you need to be constantly moving towards being able to spontaneously vary them as required, and then ultimately spontaneously create them. This idea has become heretical in the modern Xing Yi world to a large extent because modern Xing Yi has lost a lot of this spontaneous feel it used to (I admit that’s a subjective point) have, and things have become set in stone – forms that were once supposed to be fluid and flexible have become fixed and rigid. Forms of famous masters from the past now tend to be fixed forever. When words like “orthodox” start appearing to describe something you know it’s already dead, or on the way to dying.
But of course, anybody can make up a form, but is it any good? That’s a different matter. And it usually depends on the person doing it, not the moves themselves. With Xing Yi animals you can also ask the question – can I see the character of the animal being used coming out through the moves?
With Tai Chi I find it a lot harder to make up a form. Tai Chi’s approach to a form is quite different to Xing Yi, or other Kung Fu styles. The Tai Chi form tends to be a highly crafted piece of work that has been honed to perfection over many years. It is fixed because you need to be able to forget about the moves and concentrate more on what’s inside. It helps to do that if you don’t have to worry about what’s coming next because you’ve done it so many times that you can let go of that part of your brain and let it be aware of other things.
Tai Chi forms tend to start and finish in the same place for this reason. Usually, anyway. While long forms don’t tend to be balanced on left and right, a lot of the more modern, shorter forms make more of an effort to balance left and right movements.
If you understand Tai Chi and how to ‘pull’ or direct the limbs from the dantien movement then, sure you can make up your own Tai Chi forms, however, there is almost zero history of doing this in Tai Chi circles and it’s not really encouraged. I think this is because Tai Chi has push hands, which can be used as a kind of free-form expression of Tai Chi, completely away from the form and in contact with a partner to give you something to respond to, which is the whole strategy of Tai Chi Chuan, at least according to the Tai Chi Classics it is. To ‘give up yourself and follow the other’ you have to be spontaneous. There’s no other choice!
So, to conclude. I think that’s it’s in its application where the spirit of improvisation and spontaneity can be found in Tai Chi, not in the forms. I don’t think Tai Chi is particularly concerned with creating endless variations of forms and patterns like Xing Yi is, at all. Xing Yi, having a weapons starting point, doesn’t use this hands-on feeling and sensitivity to get started with spontaneity. Instead, it likes to create patterns, then vary them endlessly. Of course, you work with a partner when required, but it’s a different approach. Which is all quite natural, as these are two different martial arts, created by entirely different groups of people in a different locations and time periods.
You might like our Heretics history of Tai Chi and Xing Yi for more on that.